
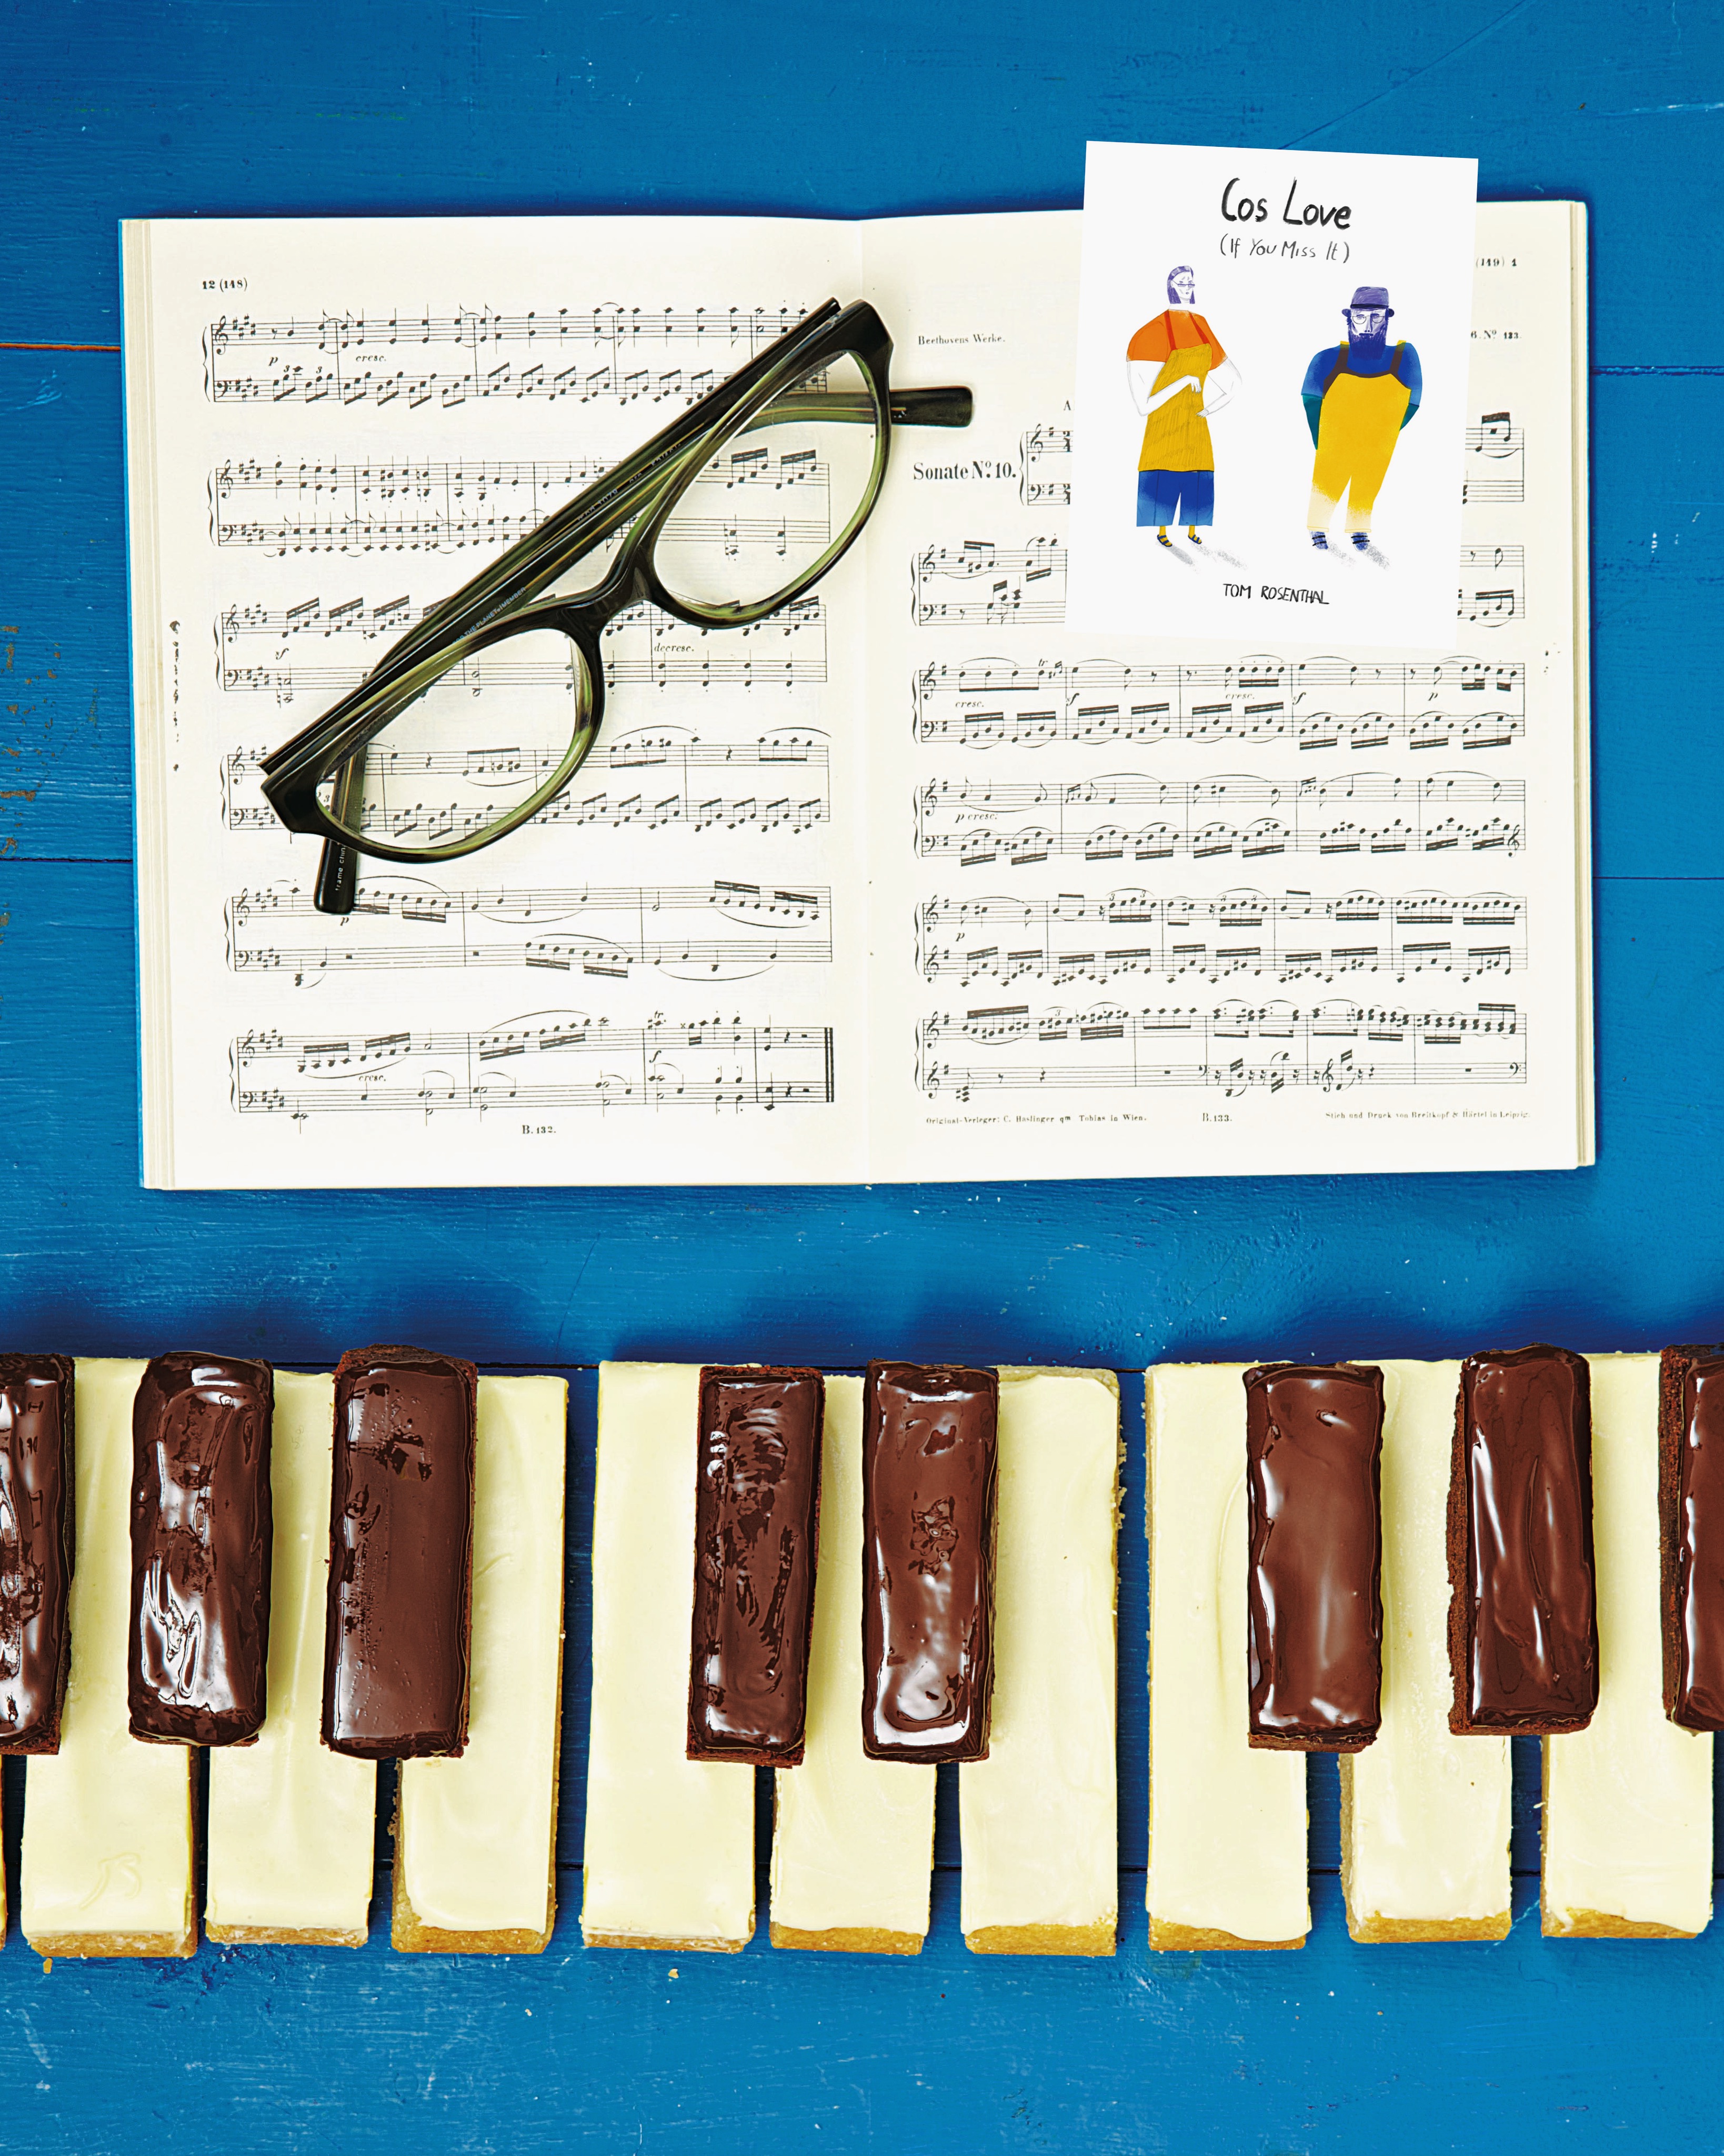
 These Shortbread Piano Keys are dedicated to the wonderful Tom Rosenthal whose recent song ‘Cos Love’ is his 100th song released and one the best he’s written. Am a big fan of all of Toms music, lryics and piano playing magic and therefore couldn’t think of a better reason and bake to celebrate the release, than with a shortbread piano. A favourite biscuit of Toms via a favourite track and recipe of mine. The words and pictures Tom paints don’t always need colouring in, yet the artwork created for both the tracks artwork, seen above and video (seen here) have been beautifully captured by the talented illustrator and animator Kathrin Steinbacher. Definitely be sure to look up and listen to both artists work and for those wanting to re-create the shortbread piano keys, I have copied the recipe from my book Quinntessential Baking below. Be sure to have a Rosenthal ‘baking playlist’ on if you do bake them, I for one will be pressing play when a certain ‘Rosenthal Roulade’ gets rolled out…Toms absolute favourite bake fyi!
SHORTBREAD PIANO KEYS
Makes 10 chocolate and 14 plain biscuit keys
For the white keys
100g caster sugar
200g butter, softened
300g plain flour
For the black keys
50g caster sugar
100g butter, softened
1 tsp vanilla extract
125g plain flour
25g cocoa powder
To decorate
150g white chocolate, chopped into pieces
50g dark chocolate, chopped into pieces
1 tsp golden syrup
Equipment
20cm square, loose-bottomed tin
900g (2lb) straight-sided loaf tin (about 21 x 11cm)
To make the plain shortbread dough for the white keys, use a hand-held electric whisk, or a free-standing mixer, to beat the sugar and butter together for 3–5 minutes or until smooth and creamy. Sift the flour into the mixture in two batches, mixing in each batch until just combined. Use your hands to bring the mix together into a dough, but take care not to overwork it.
Transfer the dough to the square tin and press it out into an even layer, smoothing the surface with the back of a spoon and your fingers. Prick the dough all over with a fork, just indenting the surface rather than going all the way through. Refrigerate while you prepare the chocolate shortbread dough for your black keys.
Using a hand-held electric whisk, or in a free-standing mixer, beat the sugar, butter and vanilla extract together for 3–5 minutes or until smooth and creamy. Sift the flour and cocoa powder into the mixture in two batches, mixing in each batch until just combined. Use your hands to bring the mix together into a dough, but be careful not to overwork it.
Transfer the dough to the loaf tin and press it out into an even layer, smoothing the surface with the back of a spoon. Prick the dough all over with a fork, just indenting the surface rather than going all the way through. Put into the fridge with the plain shortbread and chill for 15 minutes.
Preheat the oven to 170°C/150°C fan/gas 3 while the shortbread is chilling.
Bake the plain shortbread for 35–40 minutes or until lightly golden brown and firm to the touch; the chocolate shortbread needs only 30–35 minutes. Leave both shortbreads to cool in their tins, set on a wire rack.
Remove the plain shortbread from its tin and lay it squarely in front of you on the work surface. Using a ruler and small serrated knife, score a line 1cm in from the left and right edges of the shortbread. Cut through these scored lines and remove the trimmings. Next score the shortbread in half horizontally, to create two 10cm-wide strips.
With a ruler (I use a 2.5cm-wide metal ruler, found at a DIY/art & craft shop, which is perfect for dividing up this bake), score seven 2.5cm-wide keys down the full width of each shortbread half. Carefully cut through these scored lines to create 14 shortbread keys.
Remove the chocolate shortbread from the loaf tin and lay the rectangle vertically on the work surface in front of you. Trim a few millimetres from each short end of the shortbread to create a neat, straight edge. Now trim off a 3cm-wide strip from one of the longer sides (you can use this to cut extra keys from, or simply cut into squares to snack on), leaving you with a 6.5cm-wide block of shortbread. With a ruler, score this across into 10 keys, each just under 2cm wide.
To decorate the keys, melt the white chocolate in a microwave or a heatproof bowl set over a pan of simmering water (bain-marie), then cool slightly. Place the larger, plain shortbread keys close together in two blocks of seven on a sheet of baking parchment or foil. Pour on the white chocolate and spread it carefully with a palette knife. Try not to let too much drip down the sides. Leave the chocolate to set almost fully before running a sharp knife between the keys to separate them again. Leave to set before cleaning up the edges with a sharp knife.
Melt the dark chocolate with the golden syrup (this adds a sheen and prevents the chocolate from cracking too much when cut later on). Repeat the coating process with the chocolate shortbread keys.
Once all the chocolate-coated keys have set, you can assemble your keyboard, ready to play and eat! Place the white chocolate keys in a line, almost flush against each other, then arrange the dark chocolate keys on top, following the arrangement shown in the illustration below.
If you’re skipping the chocolate coating, flip the shortbread pieces over so that their flat bases become their tops, producing a smoother, more uniform finish.