
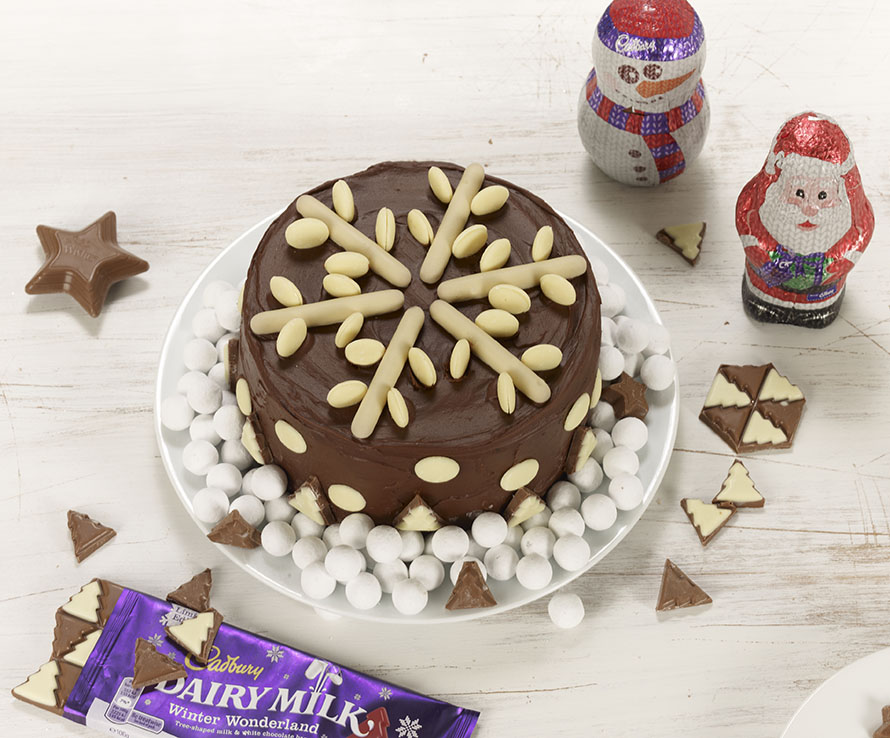
My Snowflake Cadbury cake was created for Cadbury using an assortment of their festive themed chocolates. Surrounded by Cadbury snow bites, mini wishes and white chocolate winter wonderland trees and buttons each slice and accompanying treats serves up a snowdrift of chocolate. Cadbury chocolate and ‘a glass and a half of milk’ can even be found within the cake itself. Hidden chocolate snow bites not only add an extra chocolate hit to the centre of the cake but serve up a surprise amid the chocolate ganache filling when the cake is sliced through. The Cadbury white chocolate finger biscuits produce the effect of a snowflake on top of the cake and help portion out the slices when ready to be served! Mini indoor sparklers rather than candles can be inserted and ignited to make the cake even more magical, together with a dusting of icing sugar snow to fully set the scene.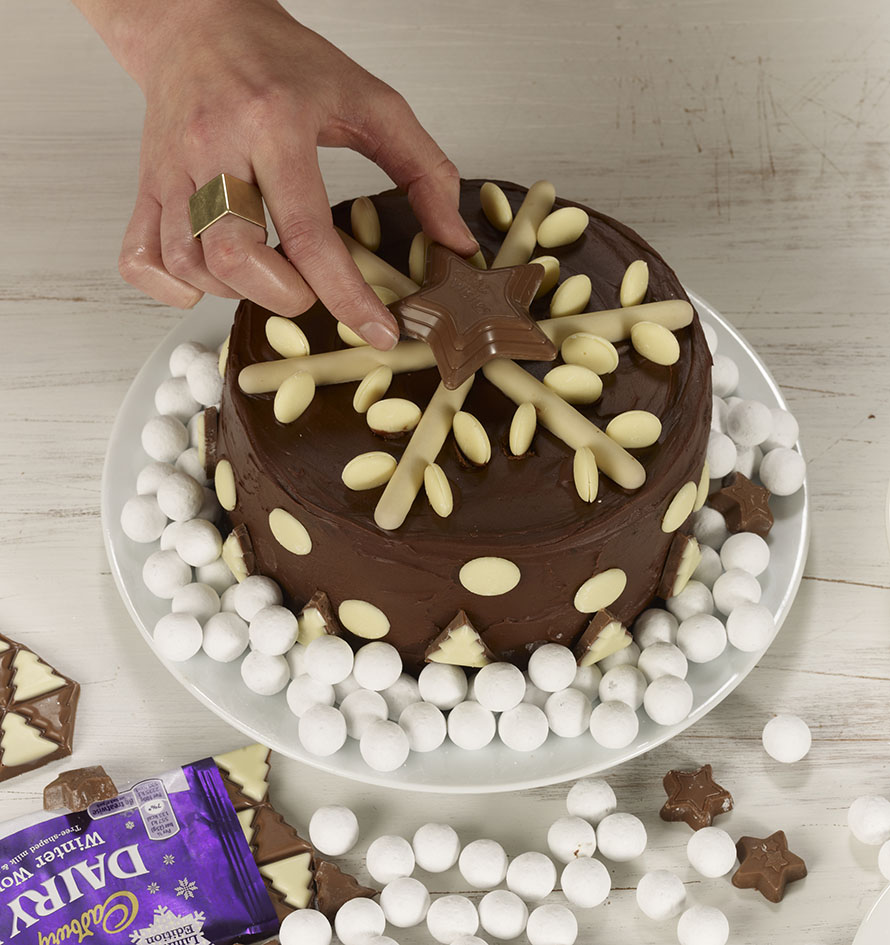
Ingredients
For the cake:
125g slightly salted butter
125g dark muscovardo sugar
200g golden syrup
50g dark chocolate, chopped up
200g self-raising flour
50g cocoa powder
1tsp bicarbonate of soda
250ml milk
1tsp vanilla extract
1 large egg
For the ganache
300ml double cream
150g dark chocolate, chopped up
150g milk chocolate, chopped up
To decorate
6 white chocolate finger biscuits
2 packets of white chocolate buttons
2 packets of snow bites
Icing sugar to dust
Method
For the ganache
Place the chopped up chocolate into a medium bowl.
Heat the cream in a medium saucepan over medium heat.
When the cream is just coming to the boil, pour over the chopped chocolate, and stir until smooth and shiny and leave to cool completely, in the fridge if necessary.
For the cake
Preheat oven to 180°C/320°F/Gas Mark 4.
Grease and line a deep base 7″/18cm round cake tin or 2 x 7″/18cm round shallow spring form cake tins. Melt the sugar, syrup and butter together in a medium pan over a medium heat, stirring on occasion with a wooden spoon.
Once everything has dissolved, stir through the dark chocolate till melted and combined.
Remove the pan from the heat and allow to cool slightly.
Meanwhile, sift all the dry ingredients into a large bowl.
Pour and measure the milk into a Pyrex jug and beat in the egg and vanilla extract.
Pour the syrup mixture from the pan into the dry ingredients and mix through, add the milk and egg mixture and combine everything together.
Pour into the lined tin/s and bake in the oven for approx 40/50 minutes if baking in the deep tin, and 20/30 if in the 2 shallow tins.
The cakes should be springy to the touch and a knife pushed into the centre of the cake should come out clean. Don’t worry about any cracks on the surface of the cake as they will be covered by the ganache later. Leave the cakes to cool in tin/s before turning out on to a wire rack to cool fully.
To decorate
Once both the cakes and ganache have fully cooled, you can start to assemble and decorate the cake. If you’ve baked a deep cake, carefully slice in half to create two cakes to sandwich together.
Place one of the cakes on to your plate and spoon a third of the ganache on to its centre and spread over with a palette knife.
Carefully dot and press a handful of chocolate snow bites into to the ganache, as if hidden in the filling. Place the other cake on top and sandwich together gently.
Spoon and spread the remainder of the ganache over the top and sides of the cake using a palette knife.
To decorate, place the chocolate finger biscuits on the surface of the cake to create a snowflake pattern and then stick in the chocolate buttons sandwiched together to produce the snowflakes tips.
Stick some more of the buttons around the side of the cake to look like falling snow
Scatter around remaining chocolate snow bites around the base of the cake.
Dust with icing sugar for an extra flurry of snow if you wish.